Preparation is Key: Essential Steps for Concrete Surface Prep – Denton Concrete Crew
As someone deeply involved in construction projects and having experienced firsthand the importance of meticulous preparation when it comes to working with concrete surfaces, I cannot overemphasize the significance of thorough planning and execution. Concrete surface preparation lays the foundation for a successful project, ensuring optimal adhesion, durability, and long-term performance of the finished surface.
In this comprehensive guide based from Concrete Contractor, I’ll delve into the essential steps for concrete surface prep, sharing valuable insights, tips, and techniques to help you achieve professional results and avoid common pitfalls.
1. Assess the Surface Condition
The first step in any concrete surface preparation process is to assess the condition of the existing surface. Look for signs of damage, deterioration, or contamination, such as cracks, spalling, oil stains, or paint residue. Identify any areas that require repair or remediation before proceeding with surface prep. Understanding the condition of the surface will guide your approach and ensure that the necessary steps are taken to achieve the desired results.
2. Clean the Surface Thoroughly
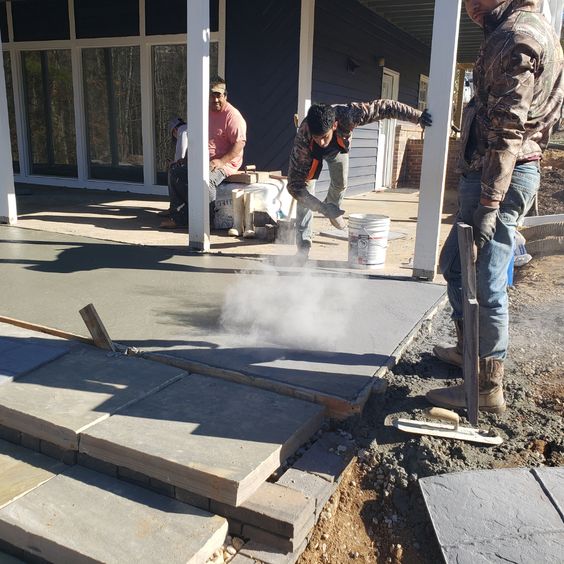
Before applying any treatments or coatings, it’s essential to clean the concrete surface thoroughly to remove dirt, debris, grease, oil, and other contaminants. Use a pressure washer, scrub brush, or chemical cleaner as needed to loosen and remove stubborn stains and residues. Pay special attention to areas with heavy soiling or buildup, as these can compromise the adhesion and performance of subsequent treatments. Allow the surface to dry completely before proceeding to the next step.
3. Repair Cracks and Damage
Addressing cracks, chips, and other surface imperfections is crucial for ensuring the structural integrity and aesthetic appeal of the finished concrete surface. Use a suitable concrete repair product, such as patching compound or epoxy mortar, to fill and repair any cracks or damaged areas. Follow the manufacturer’s instructions for mixing and application, ensuring proper adhesion and a smooth finish. Allow the repair material to cure completely before proceeding with further surface prep.
4. Remove Old Coatings and Sealers
If the concrete surface has been previously coated or sealed, it’s essential to remove any old coatings or sealers before applying new treatments. Use a chemical stripper, grinder, or abrasive blasting equipment to strip away the old finish and expose the bare concrete substrate. Ensure that all traces of the old coating are removed, as any remaining residue can interfere with the adhesion and performance of the new treatment. Take appropriate safety precautions when using chemical strippers or abrasive tools, and follow the manufacturer’s instructions carefully.
5. Profile the Surface
Profiling the concrete surface is essential for promoting adhesion and ensuring proper penetration of coatings and treatments. The surface profile refers to the texture or roughness of the concrete surface, which can be achieved through mechanical means such as grinding, shot blasting, or sandblasting. The ideal surface profile will depend on the type of coating or treatment being applied, so it’s essential to consult the manufacturer’s recommendations and specifications. Aim for a consistent and uniform surface profile across the entire area to ensure optimal performance of the finished surface.
6. Test for Moisture
Moisture can pose a significant risk to the success of concrete surface treatments, leading to adhesion failure, blistering, or delamination. Before applying any coatings or treatments, it’s crucial to test the moisture content of the concrete substrate using a moisture meter or moisture vapor emission rate (MVER) test. If moisture levels exceed the recommended threshold, take appropriate measures to address the issue, such as installing a moisture barrier or using moisture-tolerant coatings. Ensuring proper moisture management will help prevent costly and time-consuming issues down the line.
7. Prime the Surface
Applying a primer or bonding agent to the prepared concrete surface can enhance adhesion and promote the performance of subsequent coatings or treatments. Choose a primer that is compatible with the type of coating or treatment being applied and follow the manufacturer’s instructions for application. Apply the primer evenly and thoroughly, ensuring complete coverage of the entire surface. Allow the primer to dry completely before proceeding with the final coating or treatment.
8. Choose the Right Coating or Treatment
Finally, select the appropriate coating or treatment for the concrete surface based on the intended use, environmental conditions, and desired appearance. Options range from traditional sealers and coatings to decorative overlays, stains, and epoxies. Consider factors such as durability, UV resistance, slip resistance, and maintenance requirements when choosing the right coating or treatment for your project. Follow the manufacturer’s instructions for application and maintenance to ensure optimal performance and longevity of the finished surface.
In conclusion, as stated in Concrete Contractor, thorough preparation is key to achieving professional results when working with concrete surfaces. By assessing the surface condition, cleaning thoroughly, repairing damage, removing old coatings, profiling the surface, testing for moisture, priming the surface, and choosing the right coating or treatment, you can ensure that your concrete surface prep efforts yield durable, long-lasting results. With careful planning and execution, you can achieve a smooth, resilient surface that meets your performance and aesthetic requirements for years to come.
Denton Concrete Crew
1901 Lakeview Blvd, Denton, TX 76208, United States
940-461-7177